LoopFollow
LoopFollow is an open-source DIY (do-it-yourself) iPhone app that combines your T1D’s display information and alerts into a single easy-to-use interface. It requires iOS 15.6 (or newer) and works with both Loop and Trio. Update to the latest version to enjoy the new features and improvements. As usual, this is a team effort consisting of coding, testing, inspiration, and copious amounts of coffee! ![]()
Support for LoopFollow is available on LoopFollow’s facebook page.
Special Features
- Supports up to 3 Loop/Trio users – each with their own unique app name
- Works with your Apple watch
- Runs on an iPhone, iPad or a Mac computer
- Provides some remote control features for Loop and Trio
- Browser builders get automated rebuilds and automated renewal of Apple distribution certificates (v 2.3.0 and higher)
This page provides an overview of the LoopFollow app and Build instructions
- Each icon in the toolbar is summarized starting with the Home screen
- This is followed by successively more detailed information for the various features
- At the end of the page are the Build and Update instructions
The Toolbar
The toolbar at the bottom of your screen reveals 5 screens.
We’ll review each screen from left to right as they appear in your toolbar, but when you set up LoopFollow, start with the Settings menu.
Home
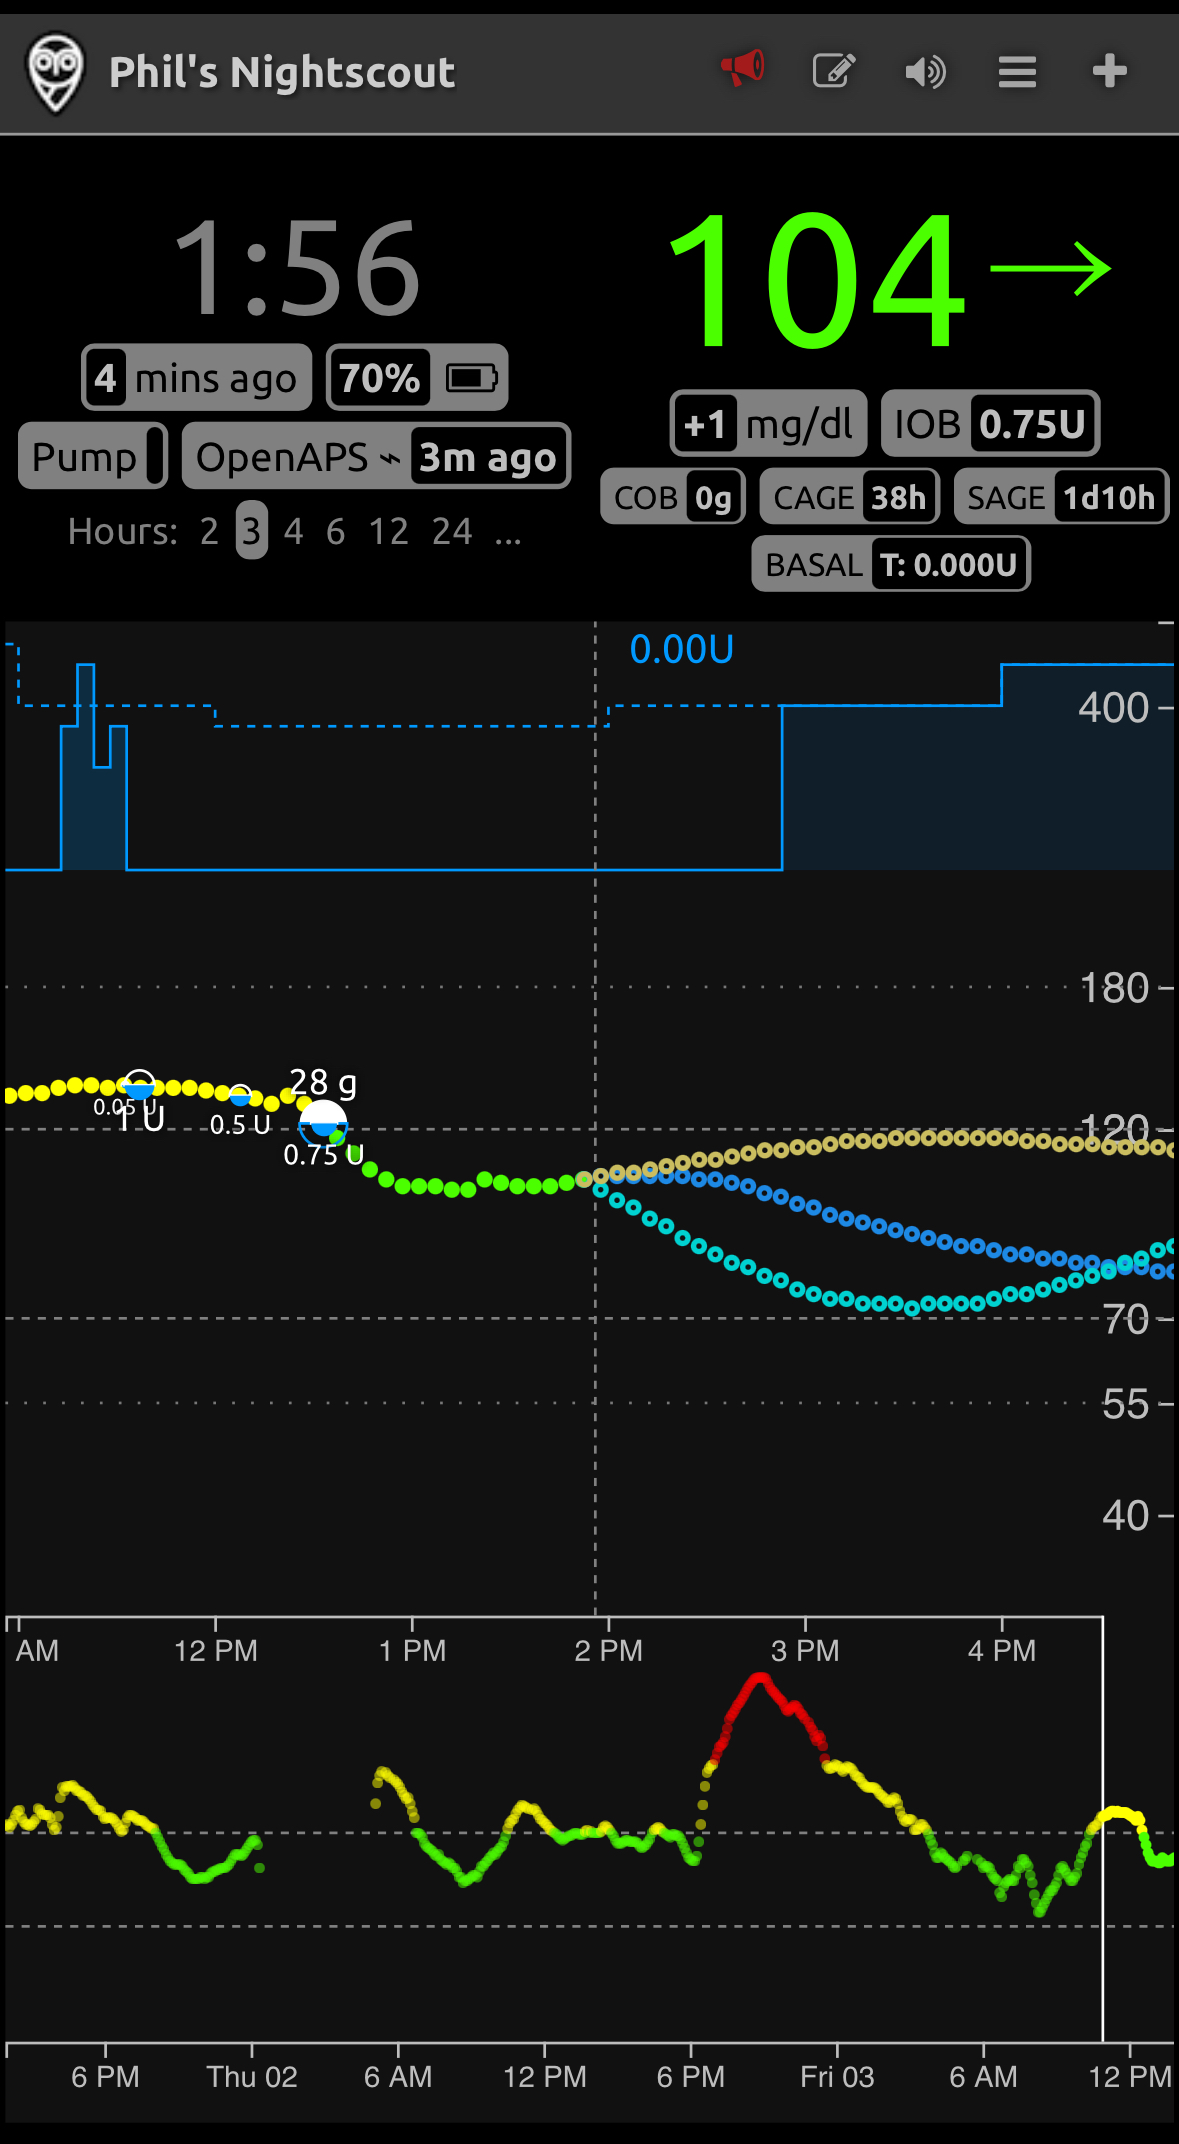
A dashboard of important information for managing your T1D.
- Supports Glucose display when Dexcom is available but Nightscout is not
- Supports Loop and Trio when Nightscout URL is provided
- Loop: Loop status, Loop Prediction, Profile Name, remote control of Overrides (when authorized)
- Trio: Trio status, Trio Predictions, Autosens, TDD, remote control of Temp Targets (when authorized/authenticated)
Once you’ve configured your settings, your Main screen will look as beautiful as the example below!

Remote
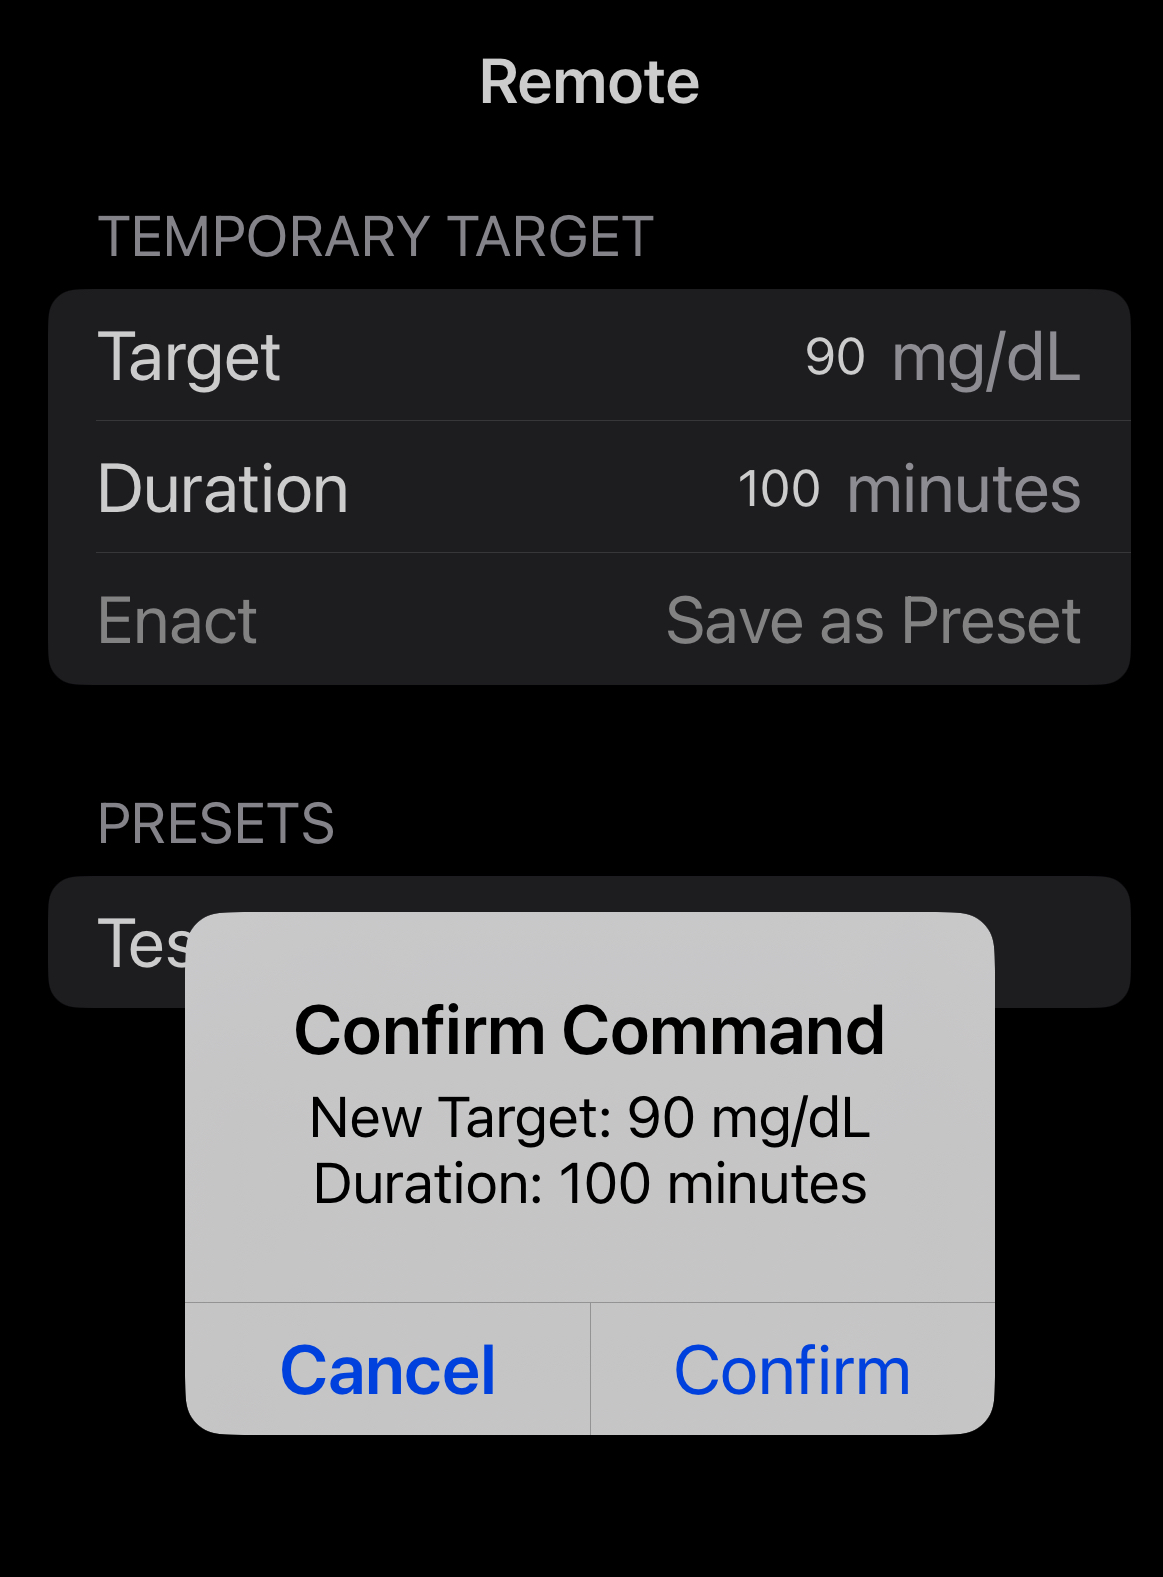
You must configure your Nightscout site to use remote commands. Once your Nightscout site is properly configured, authorized people can use their LoopFollow app to enact or cancel remote targets
- When the Nightscout URL is connected to a Loop phone, Overrides can be enacted or canceled (requires “admin” token)
- When the Nightscout URL is connected to a Trio 0.2.x phone, Temporary Targets can be enacted or canceled (requires “careportal” token, “admin” also works)
These Overrides / Temp Targets will appear on the LoopFollow display after they make the round trip from LoopFollow to Nightscout to Loop/Trio phone to Nightscout and back to LoopFollow.
For more information, check out the Remote Settings section.
Snoozer
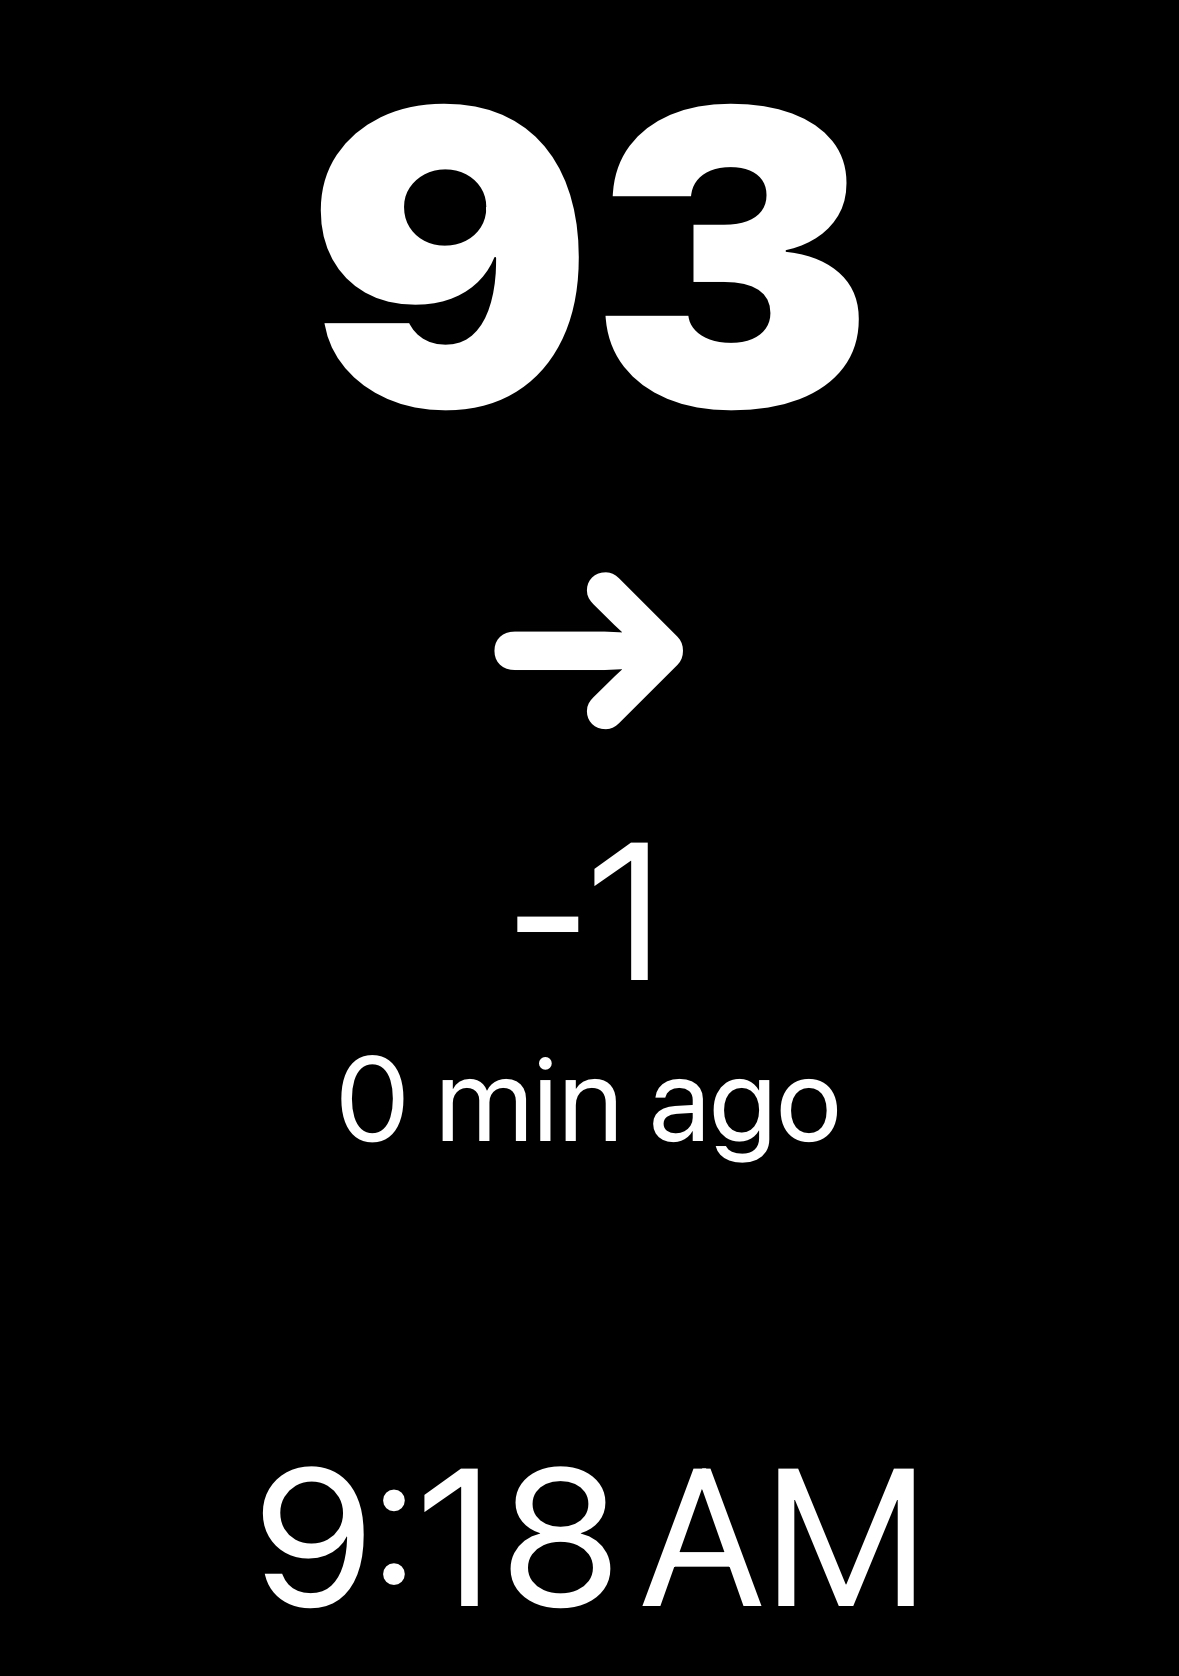
Great display of BG, trend, last time that a loop cycle was completed and the current time.
If any alarms go off, the Snooze screen is shown indicating what alarm and offering the option to snooze the alert.
Nightscout
Easy access to Nightscout and its amazing reports
Settings
You’ll set up LoopFollow using the Settings Screen, which contains these groupings. Links are provided to each portion of this page with more information about specific sections and specific settings
-
- Data Settings
- App Settings
- Integrations
- Calendar
- Contact (add real-time-glucose to watch)
- Advanced Settings
- View Log
- Build Information
Data Settings
The Data Settings grouping is for connecting LoopFollow to Dexcom Share or Nightscout data.
- If you use Dexcom Share, you will receive glucose-based records and alerts, but not the details in the Information Display area (right side of the Main screen).
- If you use Nightscout and the Loop or Trio app, then you can configure what you want to see on the Information Display area by clicking on Settings/App Settings/Information Display Settings.
- If your Nightscout site is secured, i.e., if your config vars for AUTH_DEFAULT_ROLES is set to denied
- Then your first step is to get an Authentication Token to use your Nightscout account with LoopFollow
- If your Nightscout site is not secured, then proceed directly to Settings/App Settings/Information Display Settings
- The NS Status will say “OK (Read)” or “OK (Read & Write) if you are successful in adding Nightscout, or “Checking”, “Site Not Found”, “Token Required”, “Invalid Token”, if you need to double-check your Nightscout URL and/or Token
- If your Nightscout site is secured, i.e., if your config vars for AUTH_DEFAULT_ROLES is set to denied
Authentication Token
Those who secure their Nightscout site will need to use an authentication/access token for LoopFollow to be able to display the information in the LoopFollow Information Table. Your token requires “readable” as a role to be able to display data from Nightscout. (That will make sense when you read the docs at the link.)
LoopFollow users who plan to control remote overrides or temp targets using LoopFollow must have the appropriate tokens.
- Trio: Remote Control of Temp Targets requires at least a careportal token (admin is OK) with LoopFollow version 2.2.5 or higher
- Loop: Remote Control of Overrides requires an admin token with LoopFollow version 2.2.9 or higher

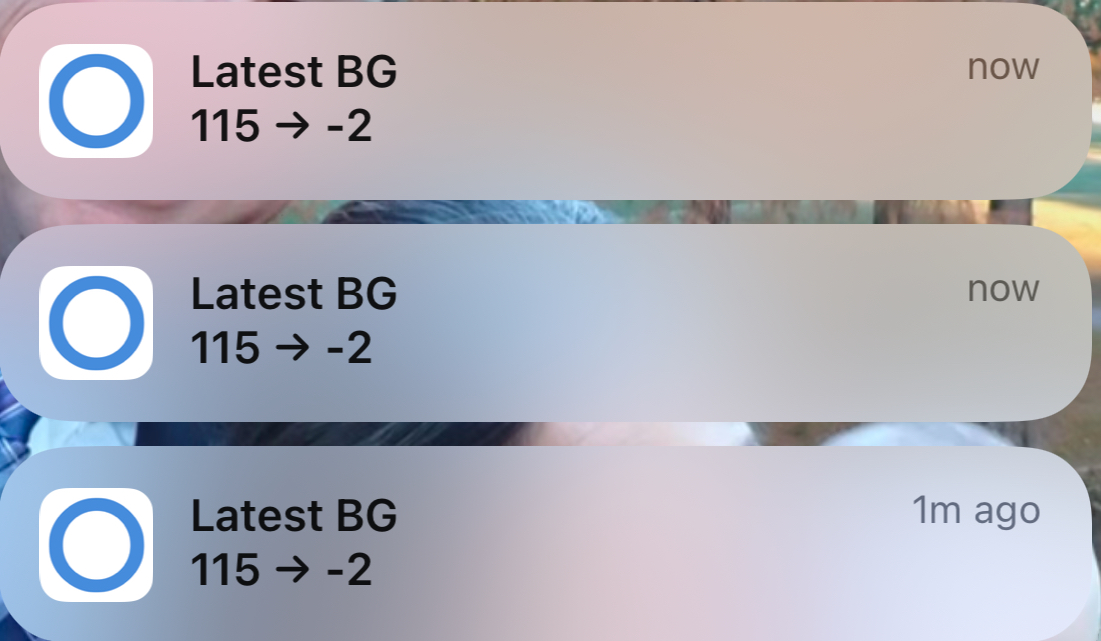
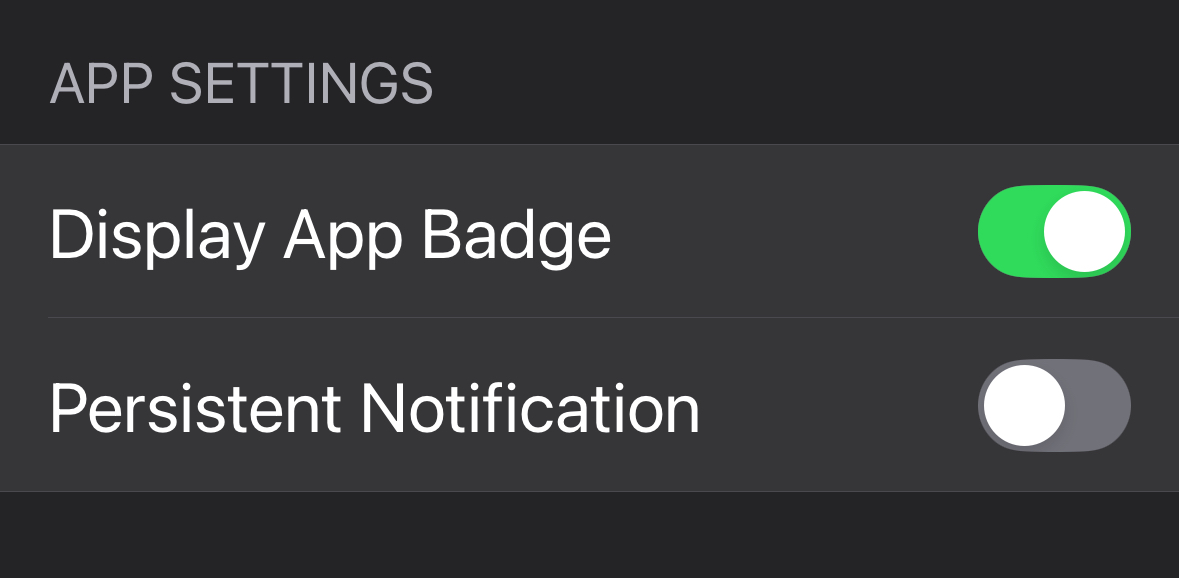
Pro Tip: If you are experiencing audible and visible glucose alerts every single minute, disable Persistent Notifications. Go to LoopFollow, Settings, General Settings to see the screen in the graphic below.
Background Refresh Settings
LoopFollow has traditionally provided an option to play a silent audio as a trick to allow it to wake up when in the background or when the phone is locked. This has several drawbacks including battery drain and limited reliability.
With LoopFollow version 2.2.9 or higher, an additional method is provided using an external device to provide a heartbeat. This can be a radiolink device, if you have one available, or a used Dexcom Transmitter (G5/ G6/ ONE/ Anubis) or Sensor (G7/ ONE+). The batteries on Dexcom devices continue to provide power to the Bluetooth system, giving a heartbeat at about 5 minute intervals. The radiolink devices provide a heartbeat every minute.
For more information, see the Bluetooth Heartbeat section.
General Settings
This section focuses on display-oriented settings, and has 3 groupings.
- APP SETTINGS
- Display App Badge
- Persistent Notification
- DISPLAY SETTINGS
- Force Dark Mode (Restart App)
- Display Stats
- Use IFCC A1C
- Display Small Graph
- Color Main BG Text
- Keep Screen Active
- Show Display Name
- SPEAK BG SETTINGS
- Speak BG
Graph Settings
Scrollable/scalable graph display.
| Decide what to display: | Adjust the scale to suit your needs: |
| Display Dots Display Lines Show Carb/Bolus Values Show Carb Absorption Show DIA Lines Show – 30 min line Show- 90 min line Treatments on Small Graph |
Small Graph Height Hours of Prediction Min BG Scale Min Basal Scale Low BG Display Value High BG Display Value Show Days Back Show Midnight Lines |
Information Display Settings |
Loop | Trio |
| IOB (insulin on board) | ✔ | ✔ |
| COB (carbs on board) | ✔ | ✔ |
| Basal | ✔ | ✔ |
| Override | ✔ | ✔ |
| Battery | ✔ | ✔ |
| Pump | ✔ | ✔ |
| SAGE (sensor age) | ✔ | ✔ |
| CAGE (cannula age) | ✔ | ✔ |
| Rec. Bolus | ✔ | ✔ |
| Min/Max | ✔ | ✔ |
| Carbs today | ✔ | ✔ |
| Autosens | ❌ | ✔ |
| Profile | ✔ | ❌ |
| Target | ✔ Current target range is displayed. If the low and high values in the range are the same, it shows as a single value | ✔ Displays as scheduled -> current target. If the current target is equal to scheduled, only one value is shown. |
| ISF (insulin sensitivity factor) | ✔ Scheduled ISF is displayed | ✔ Displays as scheduled -> current ISF. If the current ISF is equal to scheduled, only one value is shown. |
| CR (carb ratio) | ✔ Current carb ratio | ✔ Current carb ratio |
| Updated | ❌ | ✔ Displays when the information was uploaded to Nightscout. |
| TDD (total daily dose) | ❌ | ✔ Only if Dynamic ISF is enabled |
| IAGE (insulin age) | ✔ | ✔ |
Alarms
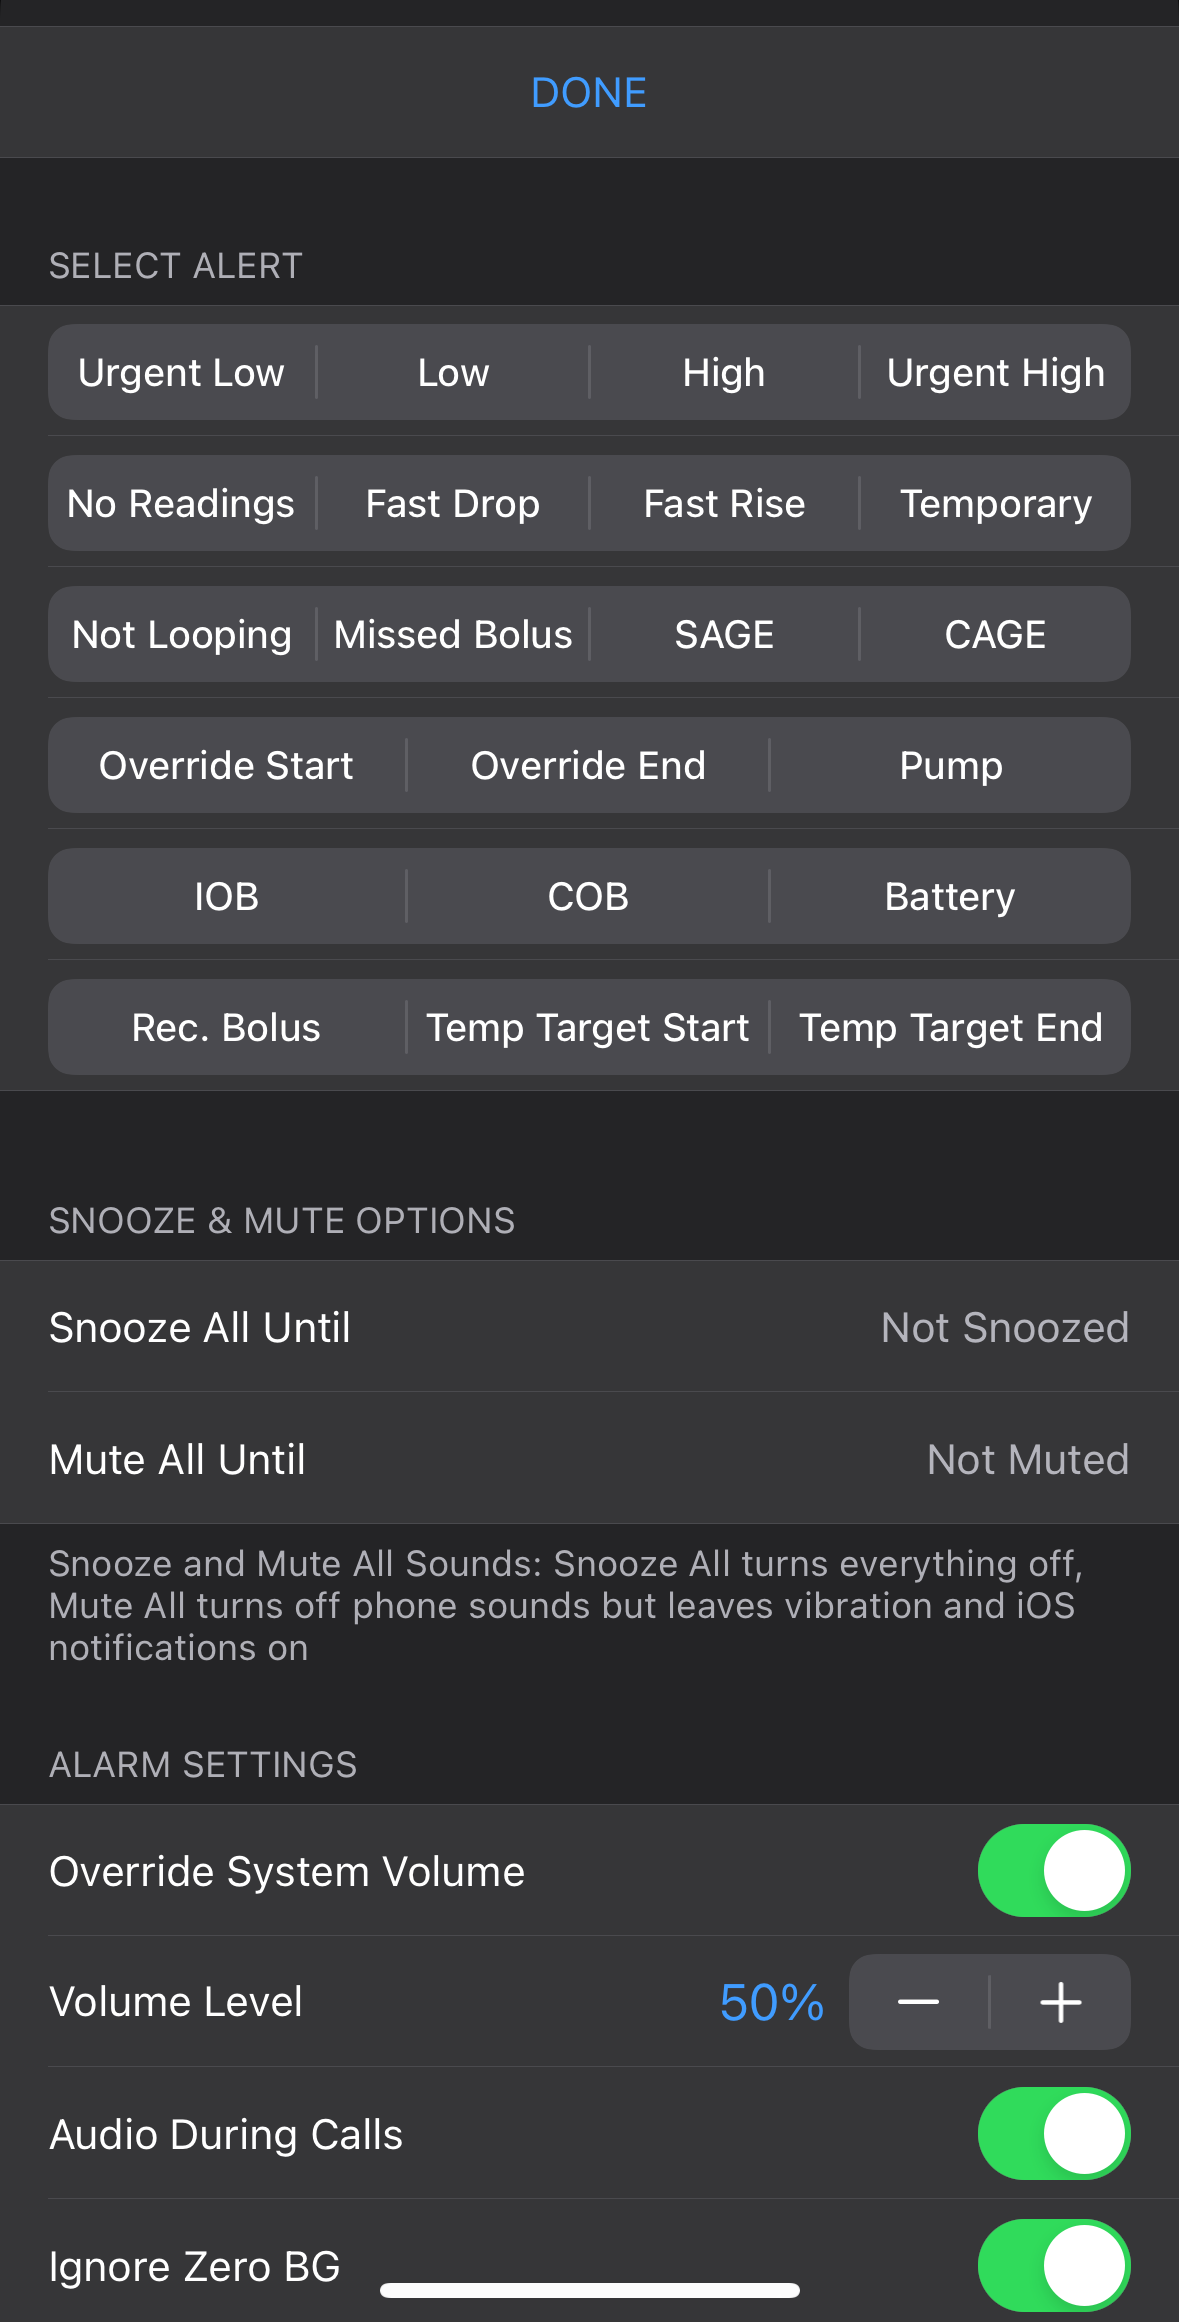
Tap on Settings/Alarms/Select Alert to configure your desired alarms:
- Select Alert covers the standard high/low/rise/fall/urgent glucose but also includes alerts for missed glucose readings, if below configured glucose, IOB, COB, Not Looping, Overrides, Pump, Missed Bolus, SAGE, CAGE and Battery
- Each alert has configurable settings including Sound selection, PreSnooze (set to be quiet At Night, During Day or Never) and Snooze Until
- Snooze All Until and a Mute All Until can be used to override your iPhone’s DND (Do Not Disturb) and system volume for all alerts
- Background silent audio is played to keep iOS from killing the app; this trick is why it can’t go into the App Store for a simple download and why LoopFollow puts an extra load on the phone battery. If you are experiencing battery drain issues, check-out Bluetooth Heartbeat for LoopFollow v 2.2.9 or later
Remote Settings
In order to use LoopFollow’s remote features, you must
- Configure your Nightscout site to use remote commands, and
- Set-up the appropriate authorization token
- Loop requires admin privileges
- Trio requires careportal privileges
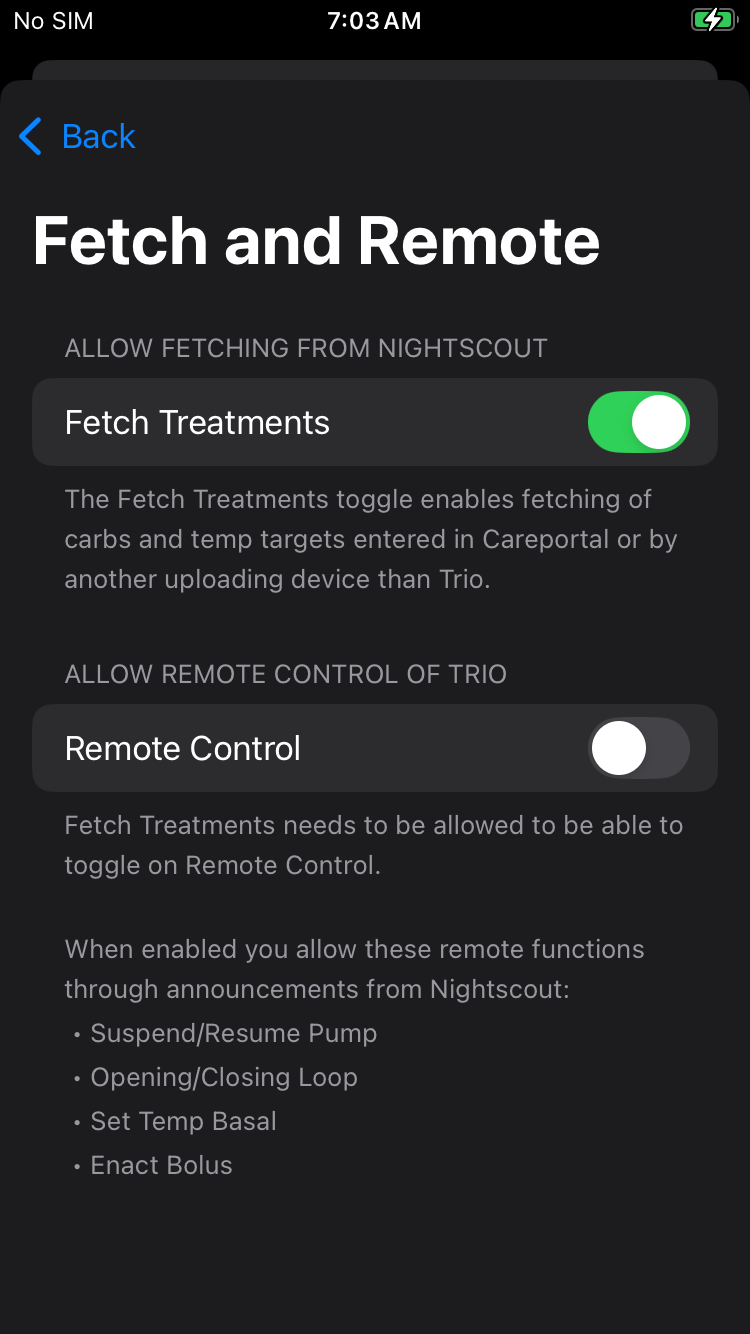
Trio 0.2.x users must also enable Fetch in the Trio Settings. Nightscout, Fetch and Remote Control screen. The Remote Control option on the screen does not need to be enabled in order for LoopFollow to access Temp Targets.
Integrations
This section is to configure selected metrics available within LoopFollow for easy access
- Calendar (useful for car play)
- Contact image (useful for the watch)
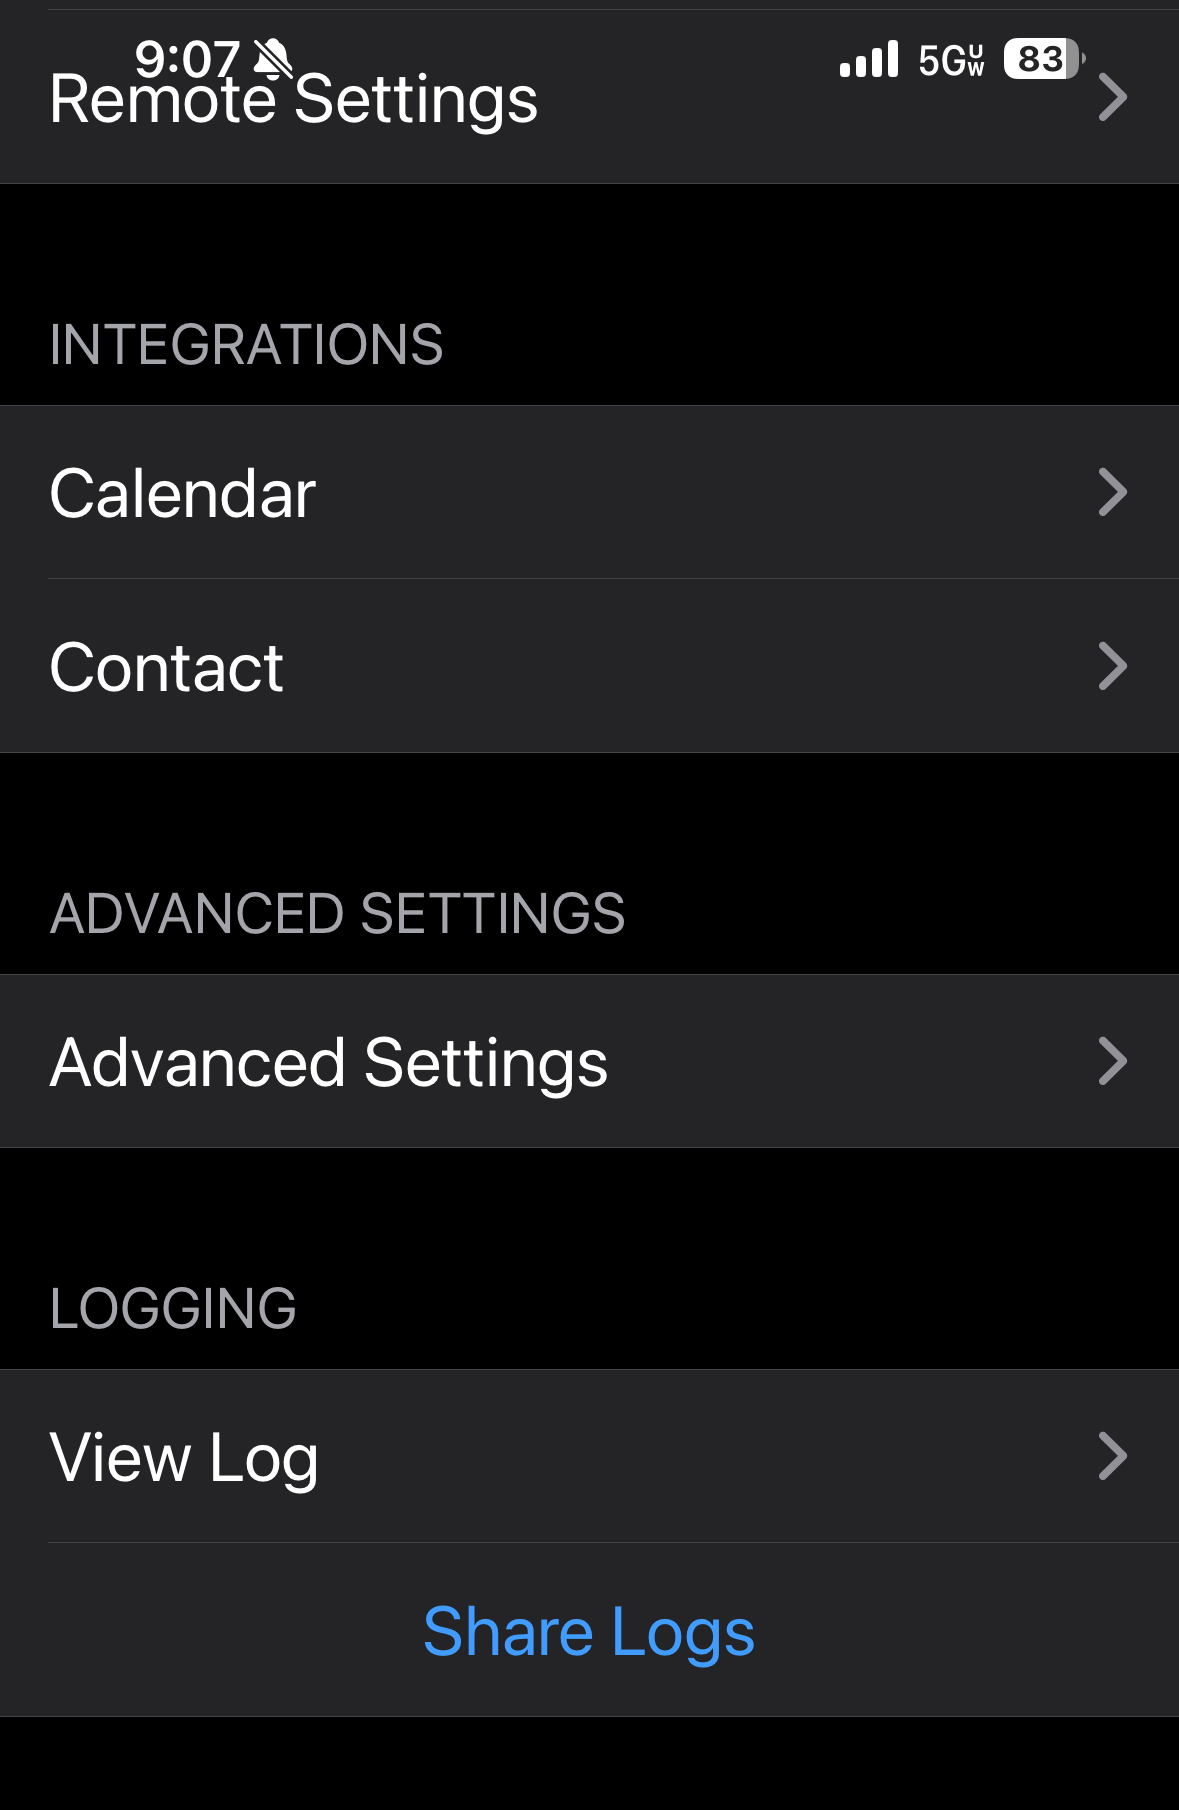
The calendar entry used to update on the watch in real time, but with iOS 18, the update rate has been throttled. The Contact image trick added with v2.2.8 currently works to provide real-time updates on an Apple Watch.
Advanced Settings
Allows you to modify your graph:
- Download Treatments
- Download Prediction
- Graph Basal
- Graph Bolus
- Graph Carbs
- Graph Other Treatments
- BG Update Delay
Activity Logging
LoopFollow logs activity to a file that can be viewed within the app, and can be shared via email, a Notes file or Facebook messenger if needed. The log can be filtered and searched. This will aid in troubleshooting and diagnostics. The information that is being logged will be expanded in future versions.
Build Information
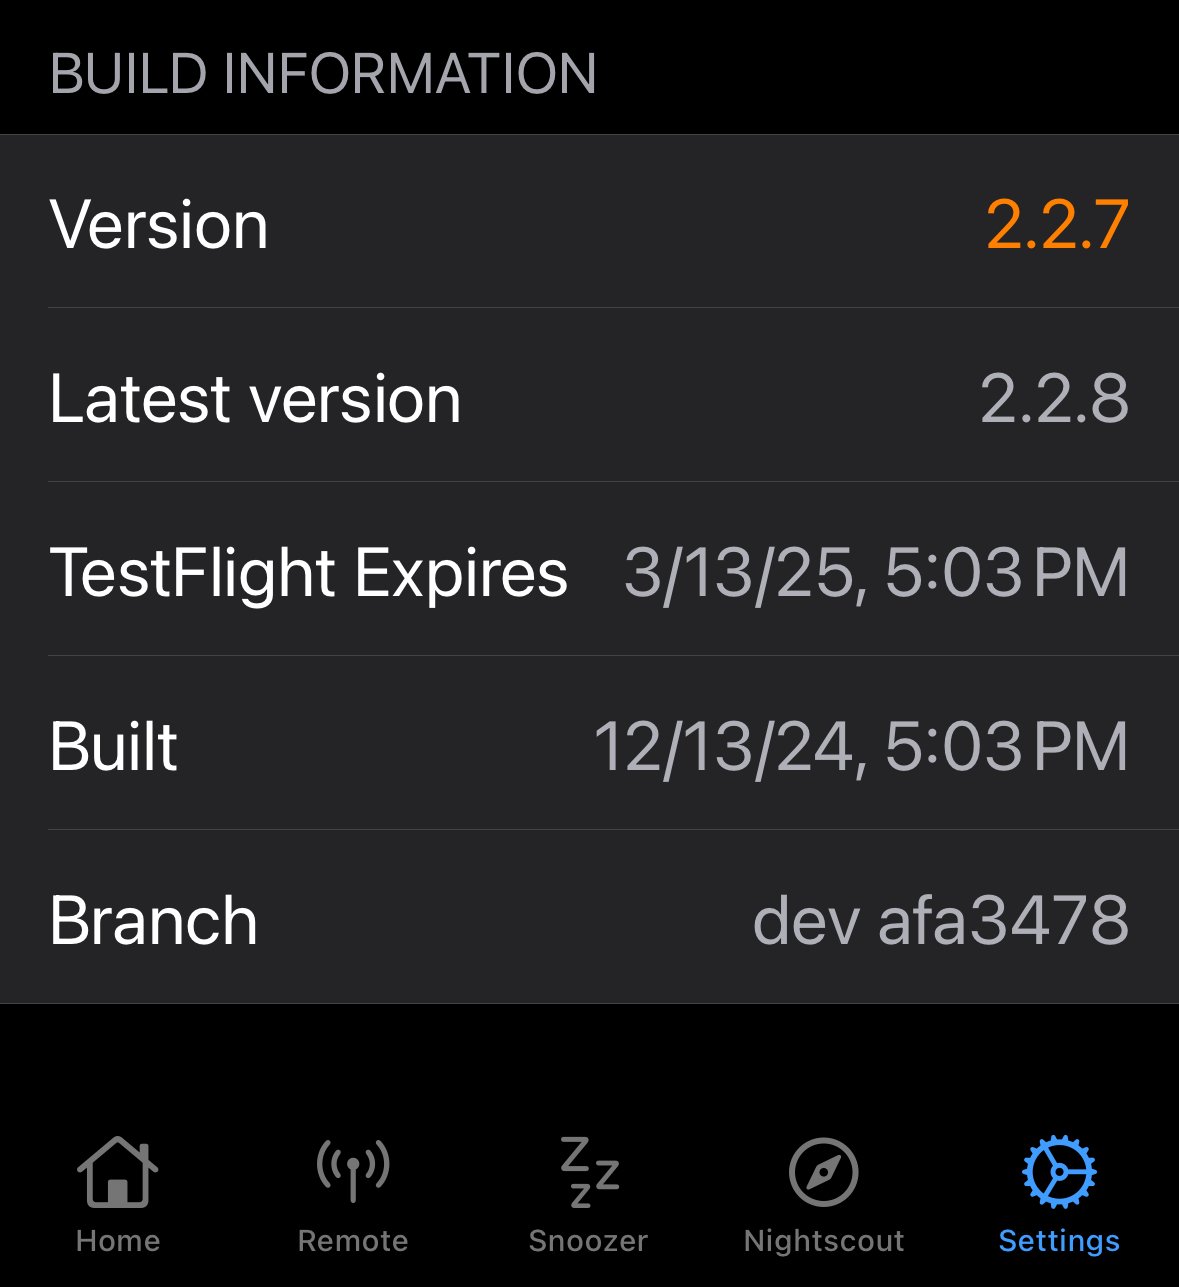
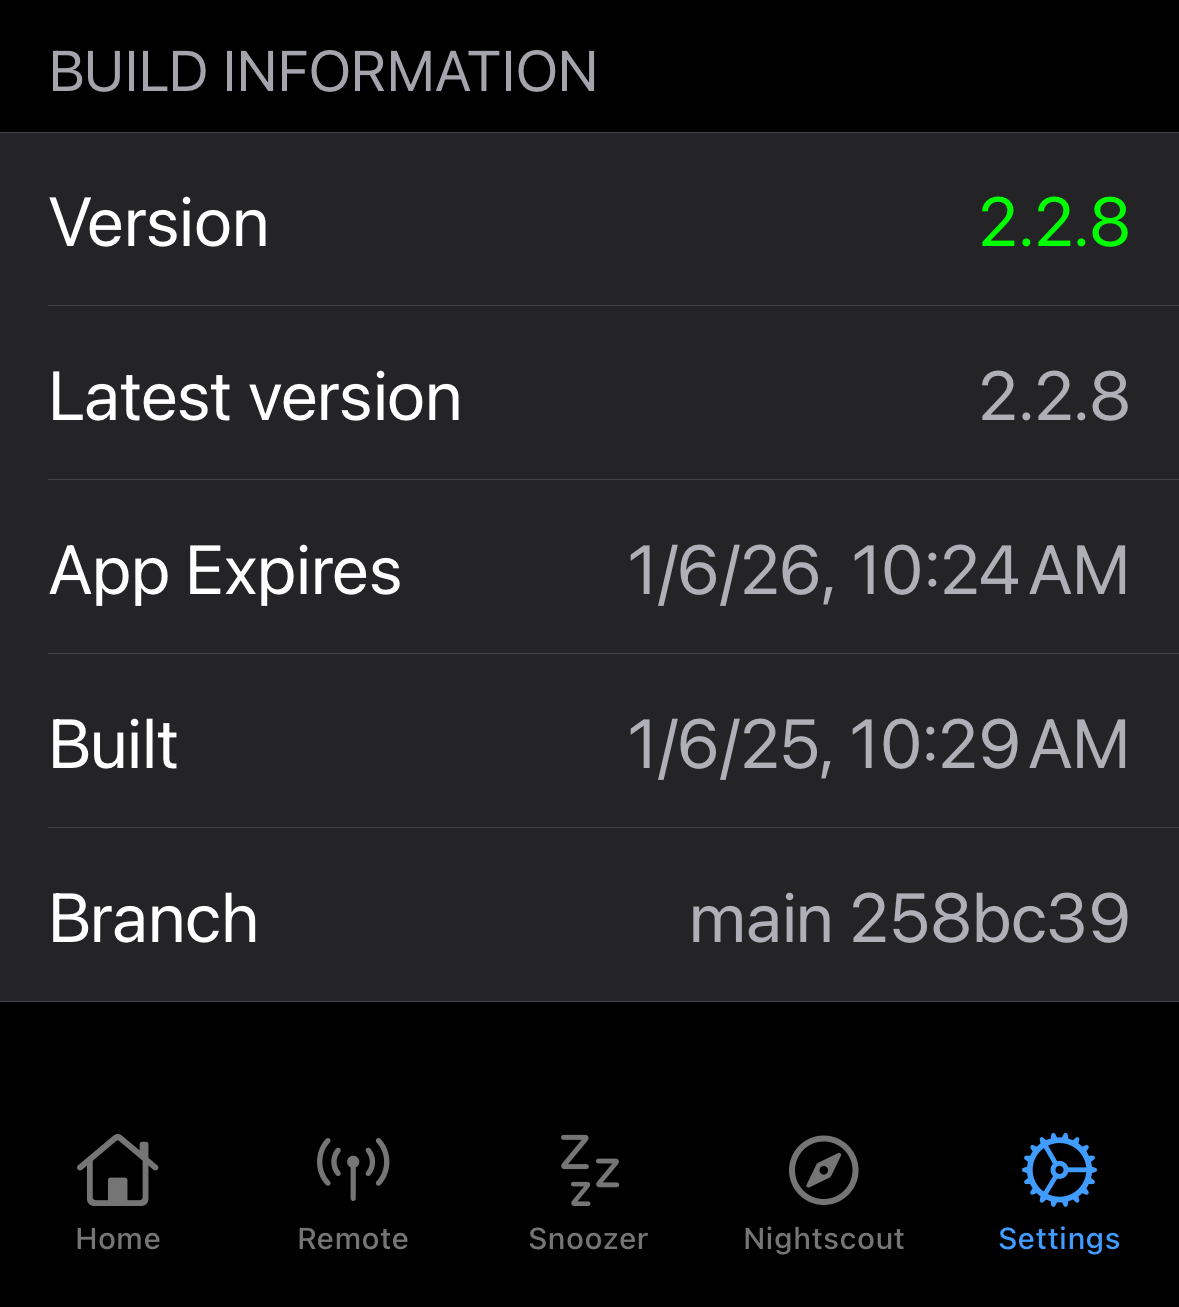
Identifies the latest version and lets you know:
- that your version is out-of-date (in red) or up-to-date (in green)
- when you built LoopFollow
- when your TestFlight (Browser Builds) or App (Mac-Xcode Builds) expires
- your branch
Updated Method for Watch Display of Real Time Glucose
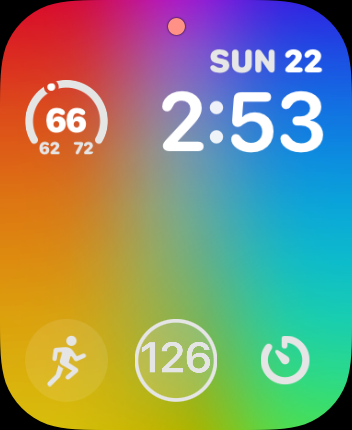
Follow your Looper’s BG value in real time on your Apple watch by adding a complication! Note: a new method is required because old “calendar” method no longer works for iOS 18. You must have LoopFollow v2.2.8 or newer to use this method.
Features include:
- Options for delta value or arrow
- Dynamic font size
Step-by-Step Instructions to Set Up LoopFollow Contact Complication on Your Apple Watch
Video, How to add a complication for real-time watch display
Bullet List with Instructions:
- Enable BG Updates in Loop Follow
- Open the Loop Follow app on your iPhone
- Go to Settings > Integrations > Contact
- Toggle on “Enable Contact BG Updates”
- If a permission prompt appears, tap “Allow” to let Loop Follow access your contacts
- (The app will automatically create a contact named LoopFollow – BG for you.)
- Open the Watch App
- On your iPhone, open the Watch app
- Tap “My Watch” at the bottom, if it isn’t already selected
- Choose a Watch Face
- Scroll down and tap “Face Gallery” or choose an existing watch face under My Faces
- Pick a watch face that supports complications (e.g., Infograph Modular or Modular)
- Customize the Complications
- Tap the watch face you selected to edit its settings
- Find a Complication slot where you want the glucose contact to appear
- Select the slot, select the ‘Contacts’ complication, select ‘More…’, scroll through the contacts, and choose LoopFollow – BG
- Save Your Watch Face
- Tap “Add” or “Set as Current Watch Face” to apply the changes
- Check your Apple Watch to confirm the LoopFollow – BG complication is showing your glucose data
- (OPTIONAL) If you follow more than one Looper
- Repeat these steps. You can follow up to 3 Loopers using the various LoopFollow-1….-3 builds
- Each contact will have a distinct name and show up with a different color on your watch face
You’re ready to monitor your glucose data directly on your Apple Watch!


Bluetooth Heartbeat
Why was this added?
- LoopFollow can use a background silent audio to keep iOS from killing the app, but this trick puts an extra load on the phone battery and it is known to stop working in some cases, such as when using a Timer on your phone
- If the silent tune is working well for you, there’s no need to change
- If you’ve been experiencing significant battery drain you may want to use a Bluetooth Hearbeat
How does it work?
- You can choose to use a radiolink device or an expired Dexcom device as a heartbeat
- This can save significantly on the battery used by LoopFollow and provides more reliable ability to wake up LoopFollow out of background mode to check for alarm status.
What devices are supported?
These devices can provide a constant Bluetooth connection for your LoopFollow phone:
- Radiolink: RileyLink, OrangeLink, Emalink
- Dexcom Device (the battery can last for months after it is no longer in service with a sensor)
- Dexcom G5/G6/ONE/Anubis transmitter
- Dexcom G7/ONE+ sensor
If you use LoopFollow on your Looping phone for the features offered, you can connect to your own Dexcom device. You don’t need to use an expired device in addition.
How do I configure Bluetooth Heartbeat?
These graphics walk you through how to select the Background Refresh Type. The example shows the steps if you choose to use a Dexcom Device (G5/G6/ONE/G7/ONE+). A similar process is used for a radiolink device.
If the person using LoopFollow is also wearing a Dexcom or radiolink, they should choose their own device. The RSSI is a measure of the strength of the signal. It is normal for the Dexcom device to disconnect. It will reconnect regularly.


Build LoopFollow
LoopFollow can be built using either the Browser Build or the Mac-Xcode Build method. A paid Apple Developer account is required to use the Browser Build method. Regardless of how you build, you can customize your LoopFollow app’s name.
- Browser Build: See LoopDocs: Browser Build for Other Apps
- Mac-Xcode: Build LoopFollow Script for Mac-Xcode
Browser Builders:
Special Step to Update to LoopFollow 2.3.0 and higher
If you need help, please ask on Facebook.
LoopFollow 2.3.0 was released on 3-April-2025, see details here.
- Automation added to detect invalid or expired certificates and create new ones
Requires addition of an Action Variable (see below) - Go to Settings -> Secrets and variables -> Actions and make sure the Variables tab is open. Tap on “Create new organization variable” or “Create new repository variable>, then add the name ENABLE_NUKE_CERTS and enter the value true (see adjacent image). Unlike secrets these variables are visible and can be edited.
- To a github organization account: https://github.com/organizations/username/settings/variables/actions
- If you’ve already added this variable to your organization for Trio or Loop, there is no need to add it again.
- To a personal github account: https://github.com/username/LoopFollow/settings/variables/action
- To a github organization account: https://github.com/organizations/username/settings/variables/actions


Build LoopFollow Script for Mac-Xcode
Carefully read the information in the terminal before making any choices.
Step 1: Open Terminal
Tip: Press Command-Space to open spotlight search. Start typing “term” (without the quotes) and you will see the Terminal application icon in the box. Hit enter to open.
Step 2: Copy the entire line starting with /bin/bash and then Paste the line into Terminal and enter
Click on the line below to copy it. You’ll see Copied to Clipboard briefly.
Step 3: Choose from one of the options presented by the script
If you are not following multiple Loopers, always choose 1 for the latest release.
- You are prompted to enter a custom name if you want or you can continue using the LoopFollow default name
If you are following up to 3 Loopers, choose option 1, 2 or 3.
- Each Looper can have a unique name displayed for the app
- Each time you download using the script, the name you selected the first time is remembered, but editing instructions are provided
To test a specific feature that is only found in the dev branch, choose option 4. This is not typical, and only builds to the app associated with Looper #1
Run LoopFollow on Mac using TestFlight
If you used the Browser Build method, follow these instructions to run LoopFollow on your Mac computer. (You can also use an iPad.)
- You need to install the TestFlight app on your computer
- The TestFlight app on the Mac shows the same set of builds and uses the same installation procedure as shown in LoopDocs for installing apps on a phone from TestFlight
- Install on computer from TestFlight
- You need to enter the data source and configuration values into the app on your computer
From Mac system settings/notifications, scroll down to LoopFollow and enable notifications with the options you want.
Run LoopFollow on your Mac with Mac-Xcode Build
- Build LoopFollow to your Mac with Xcode (choose My Mac (Mac Catalyst) as the device)
- Click Stop to close the running app that is started by Xcode
- On the left side of Xcode, click on the Folder icon
- Click to open the LoopFollow folder list
- Click to open the LoopFollow/Products folder
- Right-click (or Control-click) on “LoopFollow.app” and select Show in Finder
- First time on the Mac:
- Drag the LoopFollow.app icon to your Applications folder in Finder
- From Mac system settings/notifications, scroll down to LoopFollow and enable notifications with the options you want
- When updating on your Mac
- Make sure you close the LoopFollow app currently running on your computer
- Drag the LoopFollow.app icon to your Applications folder in Finder
- Most people choose to replace the application, but you can keep both if you prefer
- All configurations and settings are maintained
Information for Users
main vs. dev
LoopFollow users should build LoopFollow-main. New features are tested in the dev branch. Once they are thoroughly tested, they are merged into main. Experienced users can test LoopFollow-dev, but there will be minimal support. Any issues found with LoopFollow-dev should be reported in GitHub.
Pro Tips
LoopFollow can be used by Loopers too. Many Loopers love the slick look of LoopFollow’s dashboard as a quick check on their current status and daily results. Since the Looper won’t need the LoopFollow alarms, turn off Background Refresh, as it consumes a significant amount of battery power. Or if you want the alarms, select your Dexcom in the Background Refresh Setting.
Volunteers Welcome
If you want to contribute, please make your pull request against the dev branch. If you notice a bug please write an issue report.
Open Source DIY
This is a DIY open-source project that may or may not function as you expect. You take full responsibility for building and running this app and do so at your own risk.
LoopFollow Updates
The release history is located in GitHub.
This code was originally developed by Jon Fawcett who turned over development and management to the Loop and Learn team. We are happy to respond to bug reports or feature requests.